Author Topic: GIMP 2 AI Repaint Tutorial  (Read 10100 times)

charlymorton

  • Administrator
  • Hero Member
  • ******
  • Posts: 15553
    • View Profile
GIMP 2 AI Repaint Tutorial
« on: November 27, 2016, 12:42:44 AM »
This is a tutorial on how to paint AI aircraft using GIMP 2, with accompanying screenshots.This tutorial requires you to have some familiarity with layers and to know how to convert image files to either .dds or .bmp using DXTBMP or ImageTool.

In this tutorial I will paint T-26, with is a Learjet 35 with the Argentinian air force.

Sources
Learjet 35 AI model and original paint kit by Henry Tomkiewicz available at http://htai-models.com/downloads.html
Photo of aircraft from: https://www.flickr.com/photos/c38astra/15126997265/sizes/l by Robert Underwood (CC BY-SA 2.0).
Map of Falklands Islands from: https://commons.wikimedia.org/wiki/File:Location_map_of_the_Falklands_%E2%80%93_Alternative_version_4.svg by users Rob and Hogweard (CC BY-SA 3.0).
100-year anniversary logo by Fuerza Aerea Argentina.
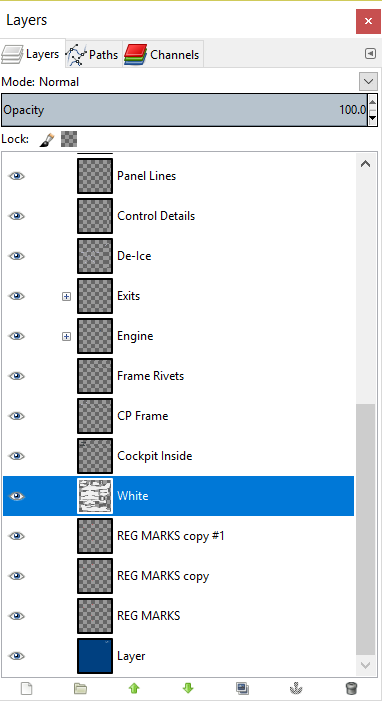
Paint kit
The original paint kit is available as a layered .psd file and is 1024x1024. My personal preference is to resize any paint kits to 4096x4096 and gradually enhance the paint kit.
The paint kit used in the tutorial has been modified from the original paint kit. Please be aware that GIMP 2 does not always handle grouped layers from .psd files correctly, so the workaround is to ungroup all the layers.

Windows used
In addition to the main GIMP 2 window, I recommend having Layers, Paths and Channels open in one dock, the Toolbox and Tool Options.


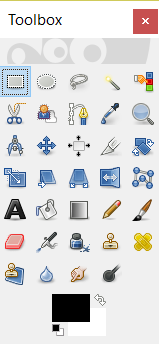
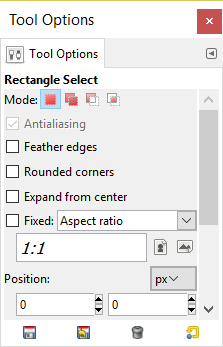
The tools used in this tutorial are the Rectangle Select, Free Select, Fuzzy Select, Paths, Measure, Move, Rotate, Shear, Perspective, Flip and Text tools.

charlymorton

  • Administrator
  • Hero Member
  • ******
  • Posts: 15553
    • View Profile
Re: GIMP 2 AI Repaint Tutorial
« Reply #1 on: November 27, 2016, 12:48:06 AM »
Start painting

When opening the paint kit, you will have a “blank” canvas to start building your repaint.
When selecting a photo as the base for your repaint, you need one which is as close to straight on the side of the aircraft as possible. You can work around this, if the photo is taken at an angle, but the more acute the angle is, the more difficult it will be to get it to look ok.
Also, the higher resolution, the better. The photo used in this tutorial is 1024x683, which should be an absolute minimum when creating high quality paints.


Paste the image in as a new layer. I recommend pasting images into the layer immediately above the “White” layer. When pasting in as a new layer, the layer will appear in the top left. It may be behind another detail layer, as is the case here.
When this happens, you can move it towards the middle, away from any layers obscuring it.

charlymorton

  • Administrator
  • Hero Member
  • ******
  • Posts: 15553
    • View Profile
Re: GIMP 2 AI Repaint Tutorial
« Reply #2 on: November 27, 2016, 02:02:46 AM »

Using the free select tool, create a selection around the aircraft, making sure you include the engine and wingtip tanks. You do not need to include any of the antennae.


When you have created the selection, invert the selection and press delete. This will get rid of everything around the aircraft, making it easier to make adjustments to fit the template.


After deleting everything around the aircraft, auto-crop the layer.